Terraform Tutorial for Beginners: A Technical, Hands-On Guide
 By opsmoon
Dive into our Terraform tutorial for beginners. Learn hands-on how to provision and manage real cloud infrastructure with practical, code-driven examples.

If you're ready to manage cloud infrastructure with code, you've found the right starting point. This technical guide is designed to walk you through the core principles of Terraform, culminating in the deployment of your first cloud resource. We're not just covering the 'what'—we're digging into the 'how' and 'why' so you can build a solid foundation for managing modern cloud environments with precision.
What Is Terraform and Why Does It Matter?
Before writing any HashiCorp Configuration Language (HCL), let's establish a technical understanding of what Terraform is and why it's a critical tool in modern DevOps and cloud engineering.
At its heart, Terraform is an Infrastructure as Code (IaC) tool developed by HashiCorp. It enables you to define and provision a complete data center infrastructure using a declarative configuration language, HCL.
Consider the traditional workflow: manually provisioning a server, a database, or a VPC via a cloud provider's web console. This process is error-prone, difficult to replicate, and impossible to version. Terraform replaces this manual effort with a configuration file that becomes the canonical source of truth for your entire infrastructure. This paradigm shift is fundamental to building scalable, repeatable systems.
The Power of a Declarative Approach
Terraform employs a declarative model. This means you define the desired end state of your infrastructure, not the procedural, step-by-step commands required to achieve it.
You declare in your configuration, "I require a t2.micro EC2 instance with AMI ami-0c55b159cbfafe1f0 and these specific tags." You do not write a script that details how to call the AWS API to create that instance. Terraform's core engine handles the logic. It performs a diff against the current state, determines the necessary API calls, and formulates a precise execution plan to reconcile the real-world infrastructure with your declared configuration.
This declarative methodology provides significant technical advantages:
- Elimination of Configuration Drift: Terraform automatically detects and can correct any out-of-band manual changes, enforcing consistency between your code and your live environments.
- Idempotent Execution: Each
terraform applyoperation ensures the infrastructure reaches the same defined state, regardless of its starting point. Running the same apply multiple times will result in no changes after the first successful execution. - Automated Dependency Management: Terraform builds a dependency graph of your resources, ensuring they are created and destroyed in the correct order (e.g., creating a VPC before a subnet within it).
Learning Terraform is a significant career investment. It provides you with some of the most in-demand skills and technologies essential for future-proofing careers in today's cloud-first landscape.
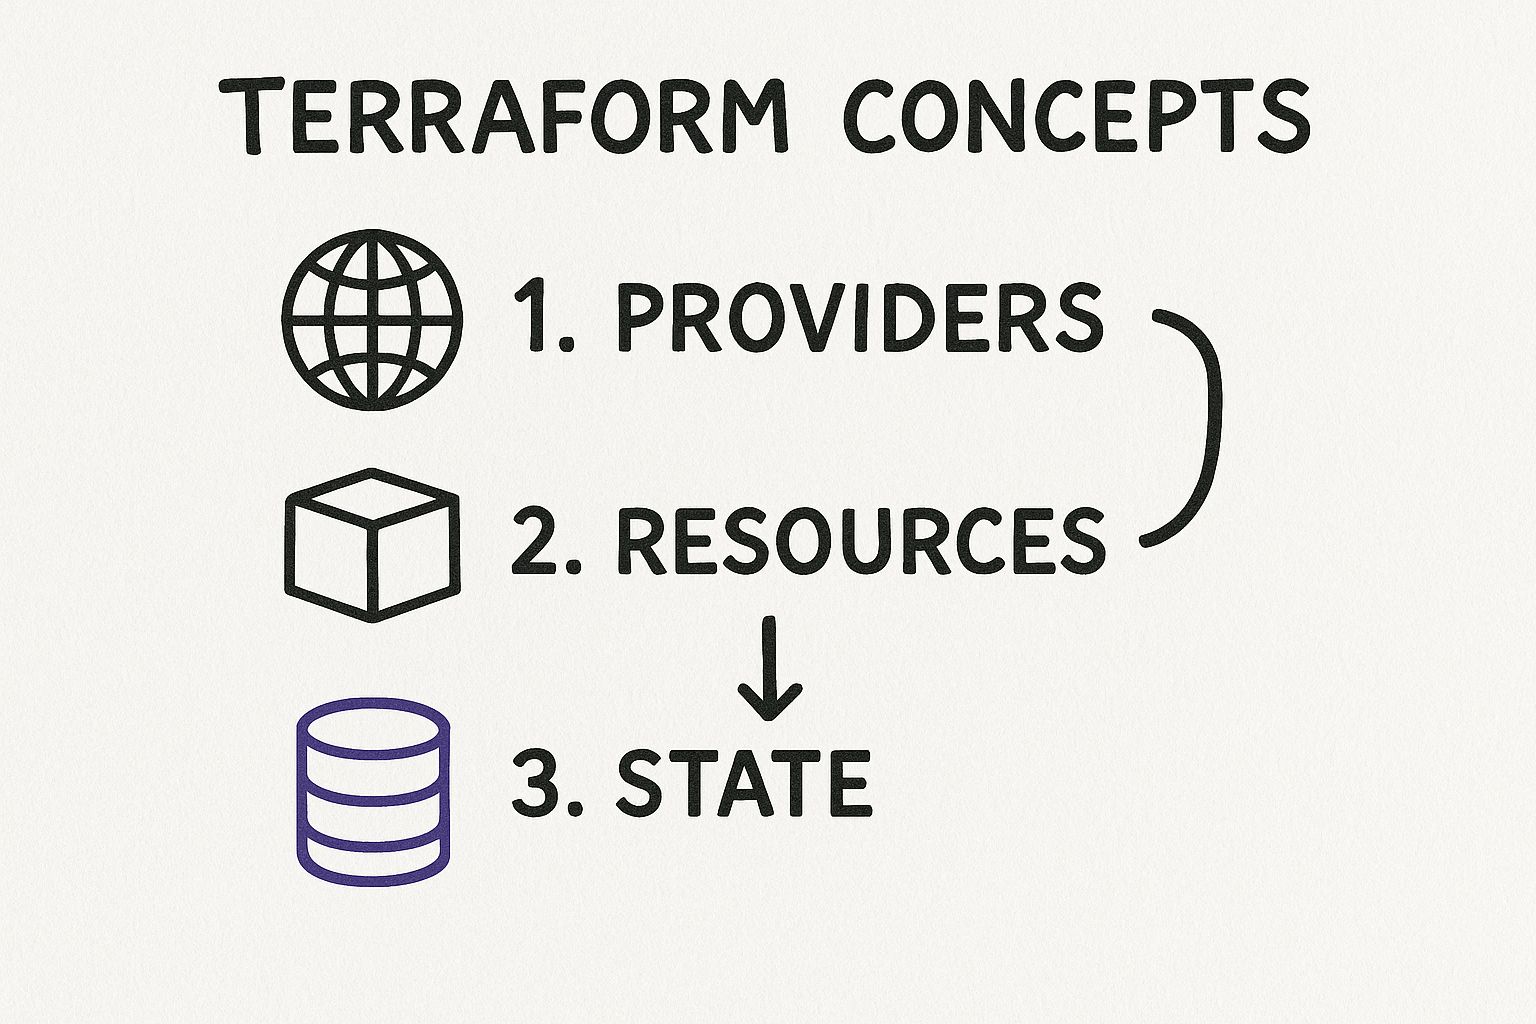
Before proceeding, it is essential to understand the fundamental concepts that form Terraform's operational model. These are the building blocks for every configuration you will write.
Terraform Core Concepts at a Glance
| Concept | Description | Why It's Important |
|---|---|---|
| Provider | A plugin that interfaces with a target API (e.g., AWS, Azure, GCP, Kubernetes). It's a Go binary that exposes resource types. | Providers are the abstraction layer that enables Terraform to manage resources across disparate platforms using a consistent workflow. |
| Resource | A single infrastructure object, such as an EC2 instance (aws_instance), a DNS record, or a database. |
Resources are the fundamental components you declare and manage in your HCL configurations. Each resource has specific arguments and attributes. |
| State File | A JSON file (terraform.tfstate) that stores a mapping between your configuration's resources and their real-world counterparts. |
The state file is critical for Terraform's planning and execution. It's the database that allows Terraform to manage the lifecycle of your infrastructure. |
| Execution Plan | A preview of the actions (create, update, destroy) Terraform will take to reach the desired state. Generated by terraform plan. |
The plan allows for a dry-run, enabling you to validate changes and prevent unintended modifications to your infrastructure before execution. |
| Module | A reusable, self-contained package of Terraform configurations that represents a logical unit of infrastructure. | Modules are the primary mechanism for abstraction and code reuse, enabling you to create composable and maintainable infrastructure codebases. |
Grasping these core components is crucial for progressing from simple configurations to complex, production-grade infrastructure.
Key Benefits for Beginners
Even as you begin this Terraform tutorial, the technical advantages are immediately apparent. It transforms a complex, error-prone manual process into a repeatable, predictable, and version-controlled workflow.
By treating infrastructure as code, you gain the ability to version, test, and automate your cloud environments with the same rigor used for software development. This is a game-changer for reliability and speed.
Developing proficiency in IaC is a non-negotiable skill for modern engineers. For teams looking to accelerate adoption, professional Terraform consulting services can help implement best practices from day one. This foundational knowledge is what separates a good engineer from a great one.
Configuring Your Local Development Environment
Before provisioning any infrastructure, you must configure your local machine with the necessary tools: the Terraform Command Line Interface (CLI) and secure credentials for your target cloud provider. For this guide, we will use Amazon Web Services (AWS) as our provider, a common starting point for infrastructure as code practitioners.
Installing the Terraform CLI
First, you must install the Terraform binary. HashiCorp provides pre-compiled binaries, simplifying the installation process. You will download the appropriate binary and ensure it is available in your system's executable path.
Navigate to the official downloads page to find packages for macOS, Windows, Linux, and other operating systems.

Select your OS and architecture. The download is a zip archive containing a single executable file named terraform.
Once downloaded and unzipped, you must place the terraform executable in a directory listed in your system's PATH environment variable. This allows you to execute the terraform command from any location in your terminal.
- For macOS/Linux: A standard location is
/usr/local/bin. Move the binary using a command likesudo mv terraform /usr/local/bin/. - For Windows: Create a dedicated folder (e.g.,
C:\Terraform) and add this folder to your system'sPathenvironment variable.
After placing the binary, open a new terminal session and verify the installation:
terraform -v
A successful installation will output the installed Terraform version. This confirms that the CLI is correctly set up.
Securely Connecting to Your Cloud Provider
With the CLI installed, you must now provide it with credentials to authenticate against the AWS API.
CRITICAL SECURITY NOTE: Never hardcode credentials (e.g., access keys) directly within your
.tfconfiguration files. This is a severe security vulnerability that exposes secrets in your version control history.
The standard and most secure method for local development is to use environment variables. The AWS provider for Terraform is designed to automatically detect and use specific environment variables for authentication.
To configure this, you will need an AWS Access Key ID and a Secret Access Key from your AWS account's IAM service. Once you have them, export them in your terminal session:
- Export the Access Key ID:
export AWS_ACCESS_KEY_ID="YOUR_ACCESS_KEY_ID" - Export the Secret Access Key:
export AWS_SECRET_ACCESS_KEY="YOUR_SECRET_ACCESS_KEY" - (Optional but Recommended) Export a Default Region:
export AWS_DEFAULT_REGION="us-east-1"
Replace the placeholder text with your actual credentials.
These variables are scoped to your current terminal session and are not persisted to disk, providing a secure method for local development. Your workstation is now configured to provision AWS resources via Terraform.
With your local environment configured, it is time to write HCL code. We will define and provision a foundational cloud resource: an AWS S3 bucket.
This exercise will transition the theory of IaC into a practical application, demonstrating how a few lines of declarative code can manifest as a tangible resource in your AWS account.
The Anatomy of a Terraform Configuration File
First, create a new file in an empty project directory named main.tf. While Terraform reads all .tf and .tf.json files in a directory, main.tf is the conventional entry point.
Inside this file, we will define three essential configuration blocks that orchestrate the provider, the resource, and the state.
This provider-resource-state relationship is the core of every Terraform operation, ensuring your code and cloud environment remain synchronized.
Let's break down the code for our main.tf file.
1. The terraform Block
This block defines project-level settings. Its most critical function is declaring required providers and their version constraints, which is essential for ensuring stable and predictable builds over time.
terraform {
  required_providers {
    aws = {
      source  = "hashicorp/aws"
      version = "~> 5.0"
    }
  }
}
Here, we instruct Terraform that this project requires the official hashicorp/aws provider. The version constraint ~> 5.0 specifies that any version greater than or equal to 5.0 and less than 6.0 is acceptable. This prevents breaking changes from a future major version from impacting your configuration.
2. The provider Block
Next, we configure the specific provider. While credentials are provided via environment variables, this block is used for other core settings, such as the target cloud region.
provider "aws" {
  region = "us-west-2"
}
This configuration instructs the AWS provider to create all resources in the us-west-2 (Oregon) region by default.
3. The resource Block
This is the heart of your configuration where you declare an infrastructure object you want to exist.
resource "aws_s3_bucket" "my_first_bucket" {
  bucket = "opsmoon-unique-tutorial-bucket-12345"

  tags = {
    Name        = "My first Terraform bucket"
    Environment = "Dev"
  }
}
In this block, "aws_s3_bucket" is the resource type, defined by the AWS provider. The second string, "my_first_bucket", is a local resource name used to reference this resource within your Terraform code. The bucket argument sets the globally unique name for the S3 bucket itself.
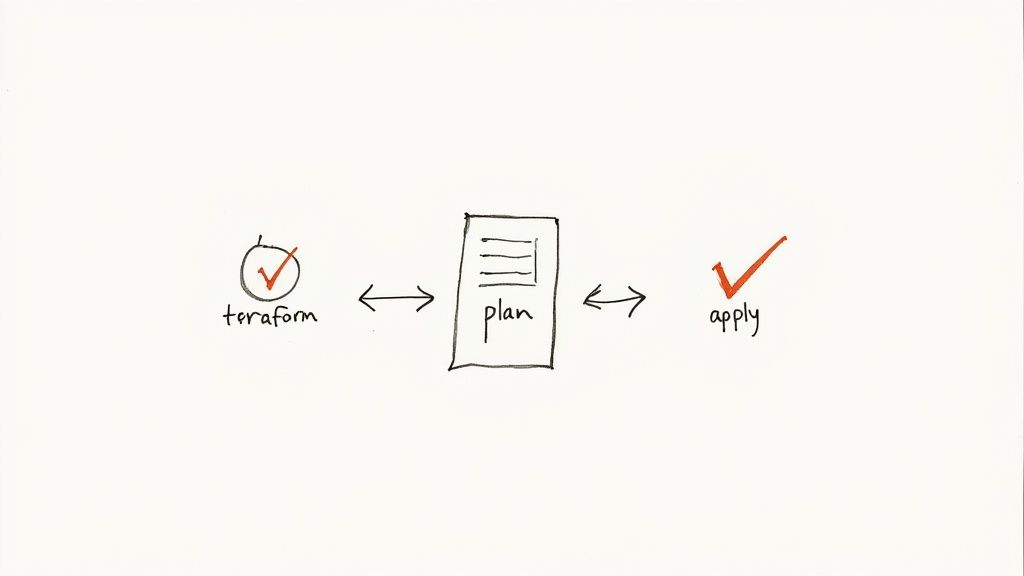
Executing the Core Terraform Workflow
With your main.tf file saved, you are ready to execute the three commands that constitute the core Terraform lifecycle: init, plan, and apply.
Initializing Your Project with terraform init
The first command you must run in any new Terraform project is terraform init. This command performs several setup tasks:
- Provider Installation: It inspects your
required_providersblocks and downloads the necessary provider plugins (e.g., the AWS provider) into a.terraformsubdirectory. - Backend Initialization: It configures the backend where Terraform will store its state file.
- Module Installation: If you are using modules, it downloads them into the
.terraform/modulesdirectory.
Execute the command in your project directory:
terraform init
The output will confirm that Terraform has been initialized and the AWS provider plugin has been downloaded. This is typically a one-time operation per project, but it must be re-run whenever you add a new provider or module.
Previewing Changes with terraform plan
Next is terraform plan. This command is a critical safety mechanism. It generates an execution plan by comparing your desired state (HCL code) with the current state (from the state file) and proposes a set of actions (create, update, or destroy) to reconcile them.
Execute the command:
terraform plan
Terraform will analyze your configuration and, since the state is currently empty, determine that one S3 bucket needs to be created. The output will display a green + symbol next to the aws_s3_bucket.my_first_bucket resource, indicating it will be created.
Always review the
planoutput carefully. It is your final opportunity to catch configuration errors before they are applied to your live environment. This single command is a cornerstone of safe infrastructure management.
Applying Your Configuration with terraform apply
Once you have verified the plan, the terraform apply command executes it.
Run the command in your terminal:
terraform apply
Terraform will display the execution plan again and prompt for confirmation. This is a final safeguard. Type yes and press Enter.
Terraform will now make the necessary API calls to AWS. After a few seconds, you will receive a success message: Apply complete! Resources: 1 added, 0 changed, 0 destroyed.
You have now successfully provisioned a cloud resource using a repeatable, version-controlled process. Mastering these foundational commands is your first major step toward implementing advanced infrastructure as code best practices. This workflow is also a key component in the broader practice of automating application and infrastructure deployment.
Scaling Your Code with Providers and Modules

You have successfully provisioned a single resource. To manage production-grade systems, you must leverage the ecosystem and abstraction capabilities of Terraform. This is where providers and modules become critical for managing complexity and creating scalable, reusable infrastructure blueprints.
Providers are the plugins that act as a translation layer between Terraform's declarative HCL and a target service's API. Without a provider, Terraform has no knowledge of how to interact with AWS, GitHub, or any other service. They are the engine that enables Terraform's cloud-agnostic capabilities.
The Terraform AWS provider, for example, is the bridge between your configuration and the AWS API. By May 2025, it had surpassed 4 billion downloads, a testament to Terraform's massive adoption and AWS's 32% market share as the leading public cloud provider. You can dig deeper into these Terraform AWS provider findings for more context.
Understanding Providers Beyond AWS
While this tutorial focuses on AWS, the provider model is what makes Terraform a true multi-cloud and multi-service tool. You can manage resources across entirely different platforms from a single, unified workflow.
For example, a single terraform apply could orchestrate:
- Provisioning a virtual machine in Azure.
- Configuring a corresponding DNS record in Cloudflare.
- Setting up a monitoring dashboard in Datadog.
This is achieved by declaring each required provider in your terraform block. The terraform init command will then download and install all of them, enabling you to manage a heterogeneous environment from a single codebase.
Introducing Terraform Modules
As your infrastructure grows, you will inevitably encounter repeated patterns of resource configurations. For example, your development, staging, and production environments may each require an S3 bucket with nearly identical settings. This is where Modules become indispensable.
A module in Terraform is a container for a group of related resources. It functions like a reusable function in a programming language, but for infrastructure. Instead of duplicating code, you invoke a module and pass in arguments (variables) to customize its behavior.
This approach is fundamental to writing clean, maintainable, and scalable infrastructure code, adhering to the DRY (Don't Repeat Yourself) principle.
Refactoring Your S3 Bucket into a Module
Let's refactor our S3 bucket configuration into a reusable module. This is a common and practical step for scaling a Terraform project.
First, create a modules directory in your project root, and within it, another directory named s3-bucket. Your project structure should now be:
.
├── main.tf
└── modules/
    └── s3-bucket/
        ├── main.tf
        └── variables.tf
Next, move the aws_s3_bucket resource block from your root main.tf into modules/s3-bucket/main.tf.
Now, we must make the module configurable by defining input variables. In modules/s3-bucket/variables.tf, declare the inputs:
# modules/s3-bucket/variables.tf

variable "bucket_name" {
  description = "The globally unique name for the S3 bucket."
  type        = string
}

variable "tags" {
  description = "A map of tags to assign to the bucket."
  type        = map(string)
  default     = {}
}
Then, update the resource block in modules/s3-bucket/main.tf to use these variables, making it dynamic:
# modules/s3-bucket/main.tf

resource "aws_s3_bucket" "this" {
  bucket = var.bucket_name

  tags = var.tags
}
Finally, return to your root main.tf file. Remove the original resource block and replace it with a module block that calls your new S3 module:
# root main.tf

module "my_app_bucket" {
  source = "./modules/s3-bucket"

  bucket_name = "opsmoon-production-app-data-56789"
  tags = {
    Environment = "Production"
    ManagedBy   = "Terraform"
  }
}
Now, when you run terraform init, Terraform will detect and initialize the new local module. Executing terraform apply will provision an S3 bucket using your reusable module, configured with the bucket_name and tags you provided. You have just created your first composable piece of infrastructure.
Managing Infrastructure State and Using Variables
Every terraform apply you've run has interacted with a critical file: terraform.tfstate. This file is the "brain" of your Terraform project. It's a JSON document that maintains a mapping of your HCL resources to the actual remote objects. Without it, Terraform has no memory of the infrastructure it manages, making it impossible to plan updates or destroy resources.
By default, this state file is stored locally in your project directory. This is acceptable for solo experimentation but becomes a significant bottleneck and security risk in a collaborative team environment.
Why You Absolutely Need a Remote Backend
Local state storage is untenable for team-based projects. If two engineers run terraform apply concurrently from their local machines, they can easily cause a race condition, leading to a corrupted state file and an infrastructure that no longer reflects your code.
A remote backend solves this by moving the terraform.tfstate file to a shared, remote location. This introduces two critical features:
- State Locking: When one team member runs
apply, the backend automatically "locks" the state file, preventing any other user from initiating a conflicting operation until the first one completes. - A Shared Source of Truth: The entire team operates on the same, centralized state file, ensuring consistency and eliminating the risks associated with local state.
A common and robust backend is an AWS S3 bucket with DynamoDB for state locking. To configure it, you add a backend block to your terraform configuration:
terraform {
  backend "s3" {
    bucket         = "opsmoon-terraform-remote-state-bucket"
    key            = "global/s3/terraform.tfstate"
    region         = "us-east-1"
    dynamodb_table = "terraform-state-lock" # For state locking
  }
}
After adding this block, run terraform init again. Terraform will detect the new backend configuration and prompt you to migrate your local state to the S3 bucket. Confirm the migration to secure your state and enable safe team collaboration.
Making Your Code Dynamic with Variables
Hardcoding values like bucket names or instance types is poor practice and severely limits reusability. To create flexible and scalable configurations, you must use input variables. Variables parameterize your code, turning static definitions into dynamic templates.
Let's define a variable for our S3 bucket's name. In a new file named variables.tf, add this block:
variable "app_bucket_name" {
  description = "The unique name for the application S3 bucket."
  type        = string
  default     = "my-default-app-bucket"
}
This defines a variable app_bucket_name with a description, a string type constraint, and a default value. Now, in main.tf, you can reference this value using the syntax var.app_bucket_name instead of a hardcoded string.
Using variables is fundamental to writing production-ready Terraform. It decouples configuration logic from environment-specific values, making your code dramatically more reusable. You can explore more practical infrastructure as code examples to see this principle applied in complex projects.
Exposing Important Data with Outputs
After provisioning a resource, you often need to access its attributes, such as a server's IP address or a database's endpoint. Outputs are used for this purpose. They expose specific data from your Terraform state, making it accessible on the command line or usable by other Terraform configurations.
Let's create an output for our S3 bucket's regional domain name. In a new file, outputs.tf, add this:
output "s3_bucket_regional_domain_name" {
  description = "The regional domain name of the S3 bucket."
  value       = aws_s3_bucket.my_first_bucket.bucket_regional_domain_name
}
After the next terraform apply, Terraform will print this output value to the console. This is a simple but powerful mechanism for extracting key information from your infrastructure for use in other systems or scripts.
Common Terraform Questions Answered
As you conclude this introductory tutorial, several technical questions are likely emerging. Addressing these is crucial for moving from basic execution to strategic, real-world application.
What Is the Difference Between Terraform and Ansible?
This question highlights the fundamental distinction between provisioning and configuration management.
- Terraform is for Provisioning: Its primary function is to create, modify, and destroy the foundational infrastructure components—virtual machines, VPCs, databases, load balancers. It builds the "house."
- Ansible is for Configuration Management: Its primary function is to configure the software within those provisioned resources. Once the servers exist, Ansible installs packages, applies security hardening, and deploys applications. It "furnishes" the house.
While there is some overlap in their capabilities, they are most powerful when used together. A standard DevOps workflow involves using Terraform to provision a fleet of servers, then using Terraform's provisioner block or a separate CI/CD step to trigger an Ansible playbook that configures the application stack on those newly created instances.
How Does Terraform Track the Resources It Manages?
Terraform's memory is the state file, typically named terraform.tfstate. This JSON file acts as a database, creating a precise mapping between the resource declarations in your HCL code and the actual resource IDs in your cloud provider's environment.
This file is the single source of truth for Terraform's view of your infrastructure. When you run terraform plan, Terraform performs a three-way comparison: it reads your HCL configuration, reads the current state from the state file, and queries the cloud provider's API for the real-world status of resources. This allows it to generate an accurate plan of what needs to change.
A crucial piece of advice: For any project involving more than one person or automation, you must use a remote backend (e.g., AWS S3 with DynamoDB, Terraform Cloud) to store the state file. Local state is a direct path to state corruption, merge conflicts, and infrastructure drift in a team setting.
Can I Use Terraform for Multi-Cloud Management?
Yes, and this is a primary design goal and a major driver of its adoption. Terraform's provider-based architecture makes it inherently cloud-agnostic. You can manage resources across multiple cloud platforms from a single, unified codebase and workflow.
To achieve this, you simply declare multiple provider blocks in your configuration—one for each target platform.
For example, your main.tf could include provider blocks for AWS, Azure, and Google Cloud. You can then define resources associated with each specific provider, enabling you to, for instance, provision a VM in AWS and create a related DNS record in Azure within a single terraform apply execution.
This provides a consistent workflow and a common language (HCL) for managing complex multi-cloud or hybrid-cloud environments, simplifying operations and reducing the cognitive load for engineers working across different platforms.
Ready to implement robust DevOps practices without the overhead? At OpsMoon, we connect you with the top 0.7% of remote DevOps engineers to build, automate, and scale your infrastructure. Start with a free work planning session and get a clear roadmap for success. Let's build your future, today.